Hip & Shoulder Movement
Reformer Pilates how-to and muscles worked in 3D
Keep the elbows extended while flexing the shoulders and sending the carriage backwards.
← Back to the reformer library
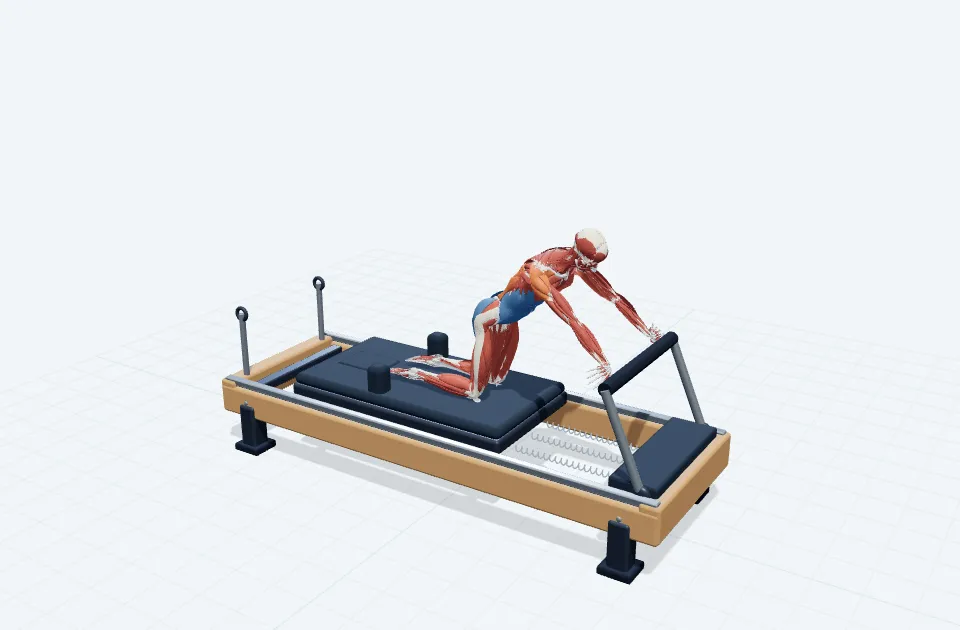
Preparation
Place both knees on the carriage and both hands on the bar. Keep the back long without shrugging.
Check your equipment manual and the setup taught by your instructor. Model spring colours and dimensions are not equipment settings.
Four movement phases
1. Set up
Place both knees on the carriage and both hands on the bar. Keep the back long without shrugging.
Breathing example: Breathe comfortably
2. Movement
Keep the elbows extended while flexing the shoulders and sending the carriage backwards.
Breathing example: Exhale
3. Observe
Observe movement at the shoulders with the arms remaining long.
Breathing example: Keep breathing
4. Complete the cycle
Extend at the shoulders to bring the carriage back to its starting position.
Breathing example: Inhale
Observation points
Observe movement at the shoulders with the arms remaining long.
Breathing is an example. Stay within the range you have learned and stop if you experience pain or discomfort.
These English notes describe the prototype model. They are not a personalised exercise prescription or a complete teaching syllabus. The content is being produced under the supervision of CoconeRu. Move and reviewed in stages. This does not provide medical advice or an individual exercise prescription.
Match the name with the movement
The lesson name is Hip & Shoulder Movement. Similar names can refer to different setups, support points or teaching intentions. Compare this preparation and its four phases with the variation you learned.
What to check in 3D
- Pause the start and identify contact with the mat, bar or carriage.
- Choose a phase and view the limbs and trunk from another angle.
- Read the return and breathing cue, then note a question for your instructor.